|
|
 |
|
|
The idea for this make came from buying my son Matchbox cars. The cars we bought said something like Hero City on them and it got me wondering what kind of place Hero City was. Eventually I came to thinking that because it was fictional, I could make Hero City whatever I wanted it to be.
|
|
|
|
|
|
The Placement
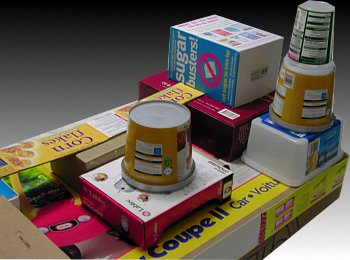
I cut a massive cardboard box in half lengthwise for the base. The next step was to position boxes on the base to form structures. This is quite a difficult step to get right, I found. I had collected a lot of straight rectangular boxes, which are actually quite boring if they are too regular. I knew I wanted a bridge because my son loves bridges. I had some round plastic tubs I wanted to use for a tower with a helipad on top. My son likes to hide his cars in little nooks so I knew I wanted to have flaps on some of the boxes for him to put his cars in.
|
|
|
|
|
|
The important thing is not to stick the boxes down on the base until you are happy that they are in the right location.
This does take some careful thought, so dont be in too much of a rush. Its tempting to plunge straight in and grab the hot gun but I urge you not to.
|
|
|
|
|
The difficult part of this model was to make it interesting and still have room for driving cars around. Road is essentially quite boring, it was a fine balance between having roads to drive on and having enough buildings to make it interesting.
|
|
|
|
The Sticking Down
The next step is to glue the boxes down in the positions you have decided. I like to use a hot glue gun, the glue gets very hot so try to keep your fingers out of the way. I put blobs of glue down and then quickly put the boxes down onto it and press hard. It only takes a few seconds to form a good strong bond.
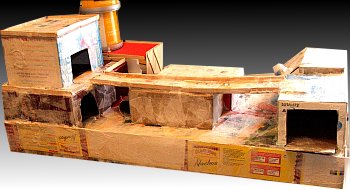
The Covering
Covering youre model really allows you to see more clearly what the finished product will look like. You can use tissue paper (the kind used in packaging), kitchen towel, newspaper or magazine paper. The covering you choose should depend on how strong you want the finished model to be. You will be sticking strips down, so prepare yourself first by tearing youre covering material into small strips. This can be a bit laborious but is worth it. Remember to tear and not cut strips, cutting maybe appealing because you can cut several sheets at once but youll get a much better finish if you tear. Its something to do with the overlapping edge bits that give it a nice texture.
|
|
|
|
|
|
Go over the covering with PVA glue to give it a nice finish. Water the glue down slightly with water and use a stiff brush to push the tissue paper into tight corners. Cover as much of the model as you can get to.
|
|
|
|
|
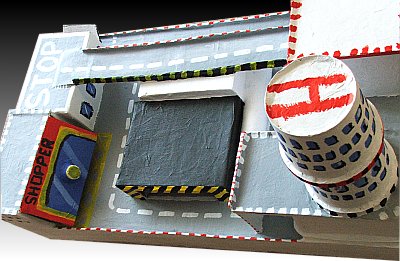
You can see here how Ive cut flaps for my children to open. I glued bottle caps to the flaps to act as handles. I also wanted a lip around the edge to stop the cars from rolling off. For this I used iced lolly sticks, you can buy them quite cheaply and they are wood and so they are stronger than card.
|
|
|
|
|
|
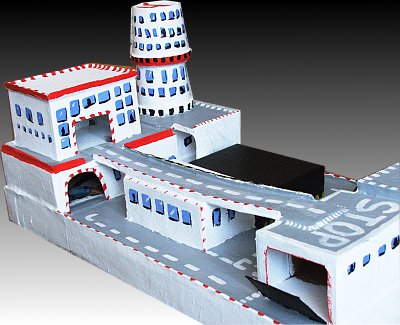
The Painting
When you get to the painting stage, you should know that the work is almost over. I usually give my models a covering of white paint. On this model I used an own brand of one coat paint. It is quite thick and may have settled, so you may need to stir it with a stick as I had to. The paint also adds a layer of toughness to the model. It sometimes cracks a little over the hardened PVA glue, this is alright it gives a nice effect when you add colour.
|
|
|
|
Finishing Off
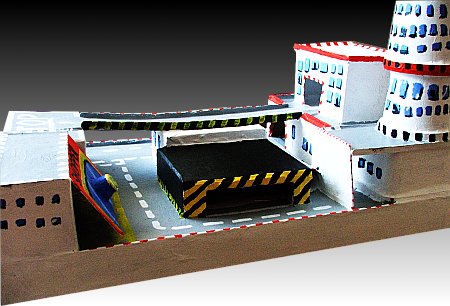
After the white has dried you can add colour. Ive kept mine mainly white but the road obviously needed to be grey. The more detail you can add, Ive added a lot of window detail, the better. I tried to give a sense of action with stripes.
|
|
|
|
I let my kids help with the painting to, my daughter was desperate to paint the H on the helipad!
|
|